

Why we chose Wendekreisen?
Being a family of 5 makes it a little tougher to hire a campervan in New Zealand. Not all companies have a 6 berth sized camper, nor do they all have room for carseats. And my biggest pain point on carseats is a camper that requires me to remove all the carseats to make up a bed.
I’m not sure I’ve met a parent that “doesn’t mind” moving carseats, so finding out that Wendekreisen’s 6 berth negated that issue, I was immediately in.
They are the only company to include road user charges (RUCs) in the cost of their hire. These are usually about $75 per 1000km and are paid at the balance of your trip (all diesel vehicle users have to pay these, even our own ute at home) And you can travel as many kilometres as you like. It’s unlimited.
They also have free one way hires, meaning you don’t have to do a round trip. This is amazing if you are wanting to start in Auckland and finish up in the South Island. They have branches in Auckland and Christchurch. One great thing is that if you are flying in, they will pick you up from the airport (within their open hours of course) and take you straight to your campervan.
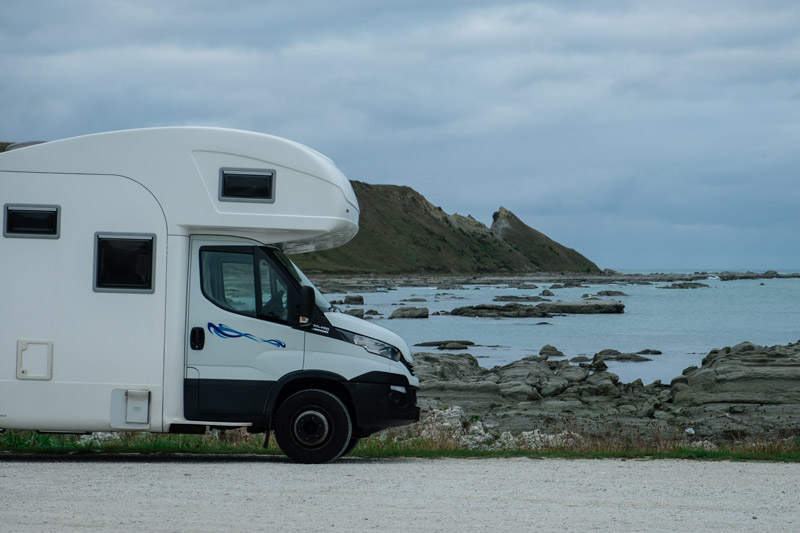
So we approached Wendekreisen and they kindly gifted us a 6 berth camper to try out for a week. It was honestly one of the easiest holidays we have ever taken. So while the motorhome was provided for us to test out, our opinions are all our own.

Reasons why loved this van
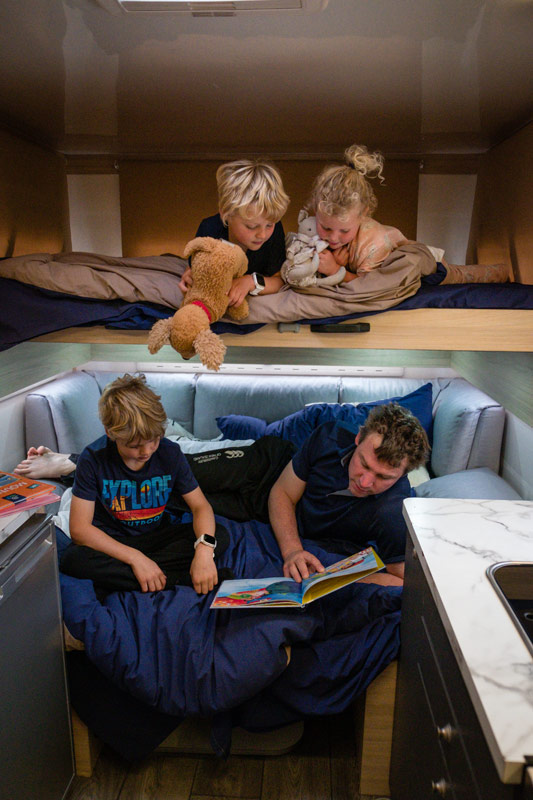
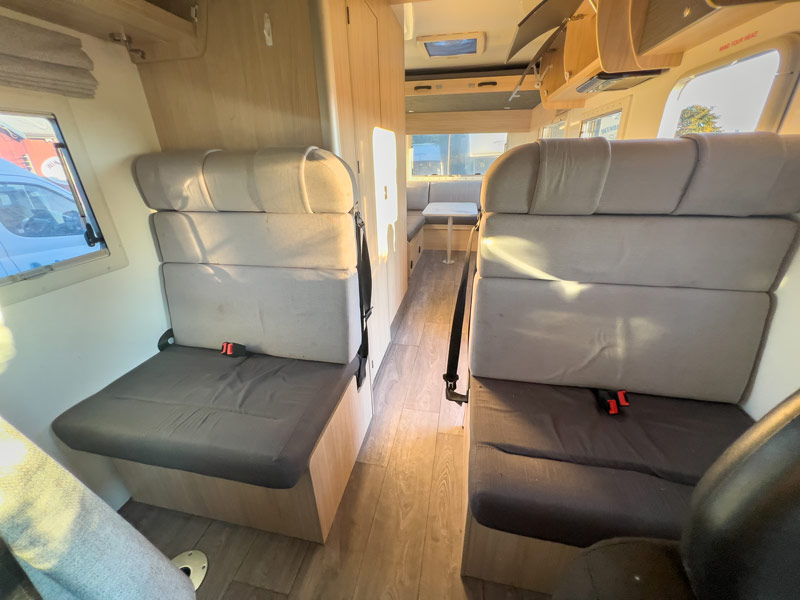
- You don’t have to move the carseats. When picking a model, many vans use the dining area as both seating for carseats as well as the third bed. This means moving the carseats every time you want to sleep and eat. I am so glad we didn’t have to do this everyday.
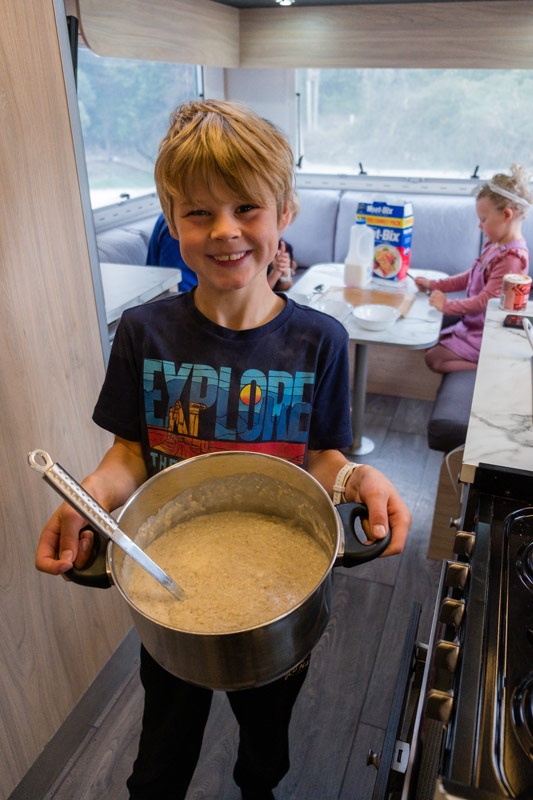
- The gas cooker was so fast. In fact, it boiled a big pot of water faster than it does at home, so don’t be concerned it will be a pathetic little cooker. It is, in fact, legit
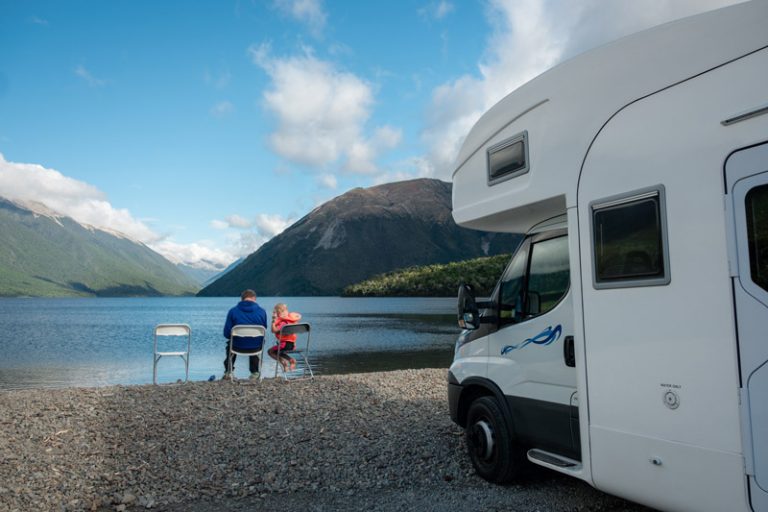
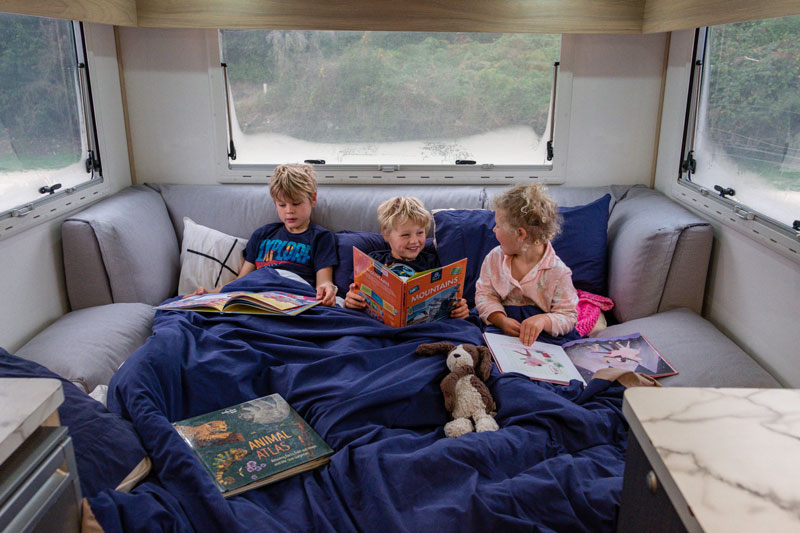
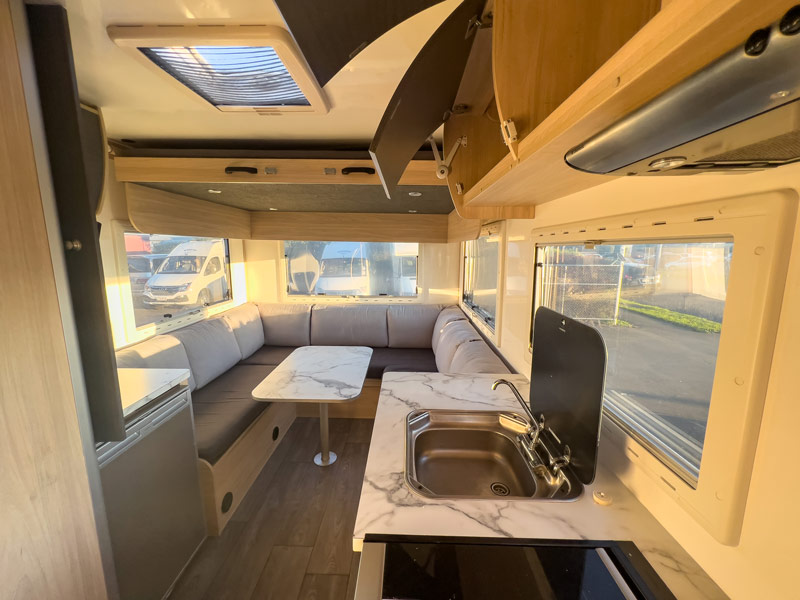
- The big lounge and dining area at the back was comfy and plenty big enough for our family of 5. I have seen campers that have the small tables in the middle of the van and that just wouldn’t work for our family.
- There was plenty of storage. In fact, we didn’t even fill it all, even with our added extras such as a paddleboard and 3 kids scooters and helmets.
- It was well kitted out for a family in the kitchen. I really appreciated the huge pot to cook in, as anyone who has been to a motel to cook a family meal in a tiny pot will understand. It also had a decent grater, strainer, salad bowl etc. The only thing I found that I wanted was a wooden spoon.
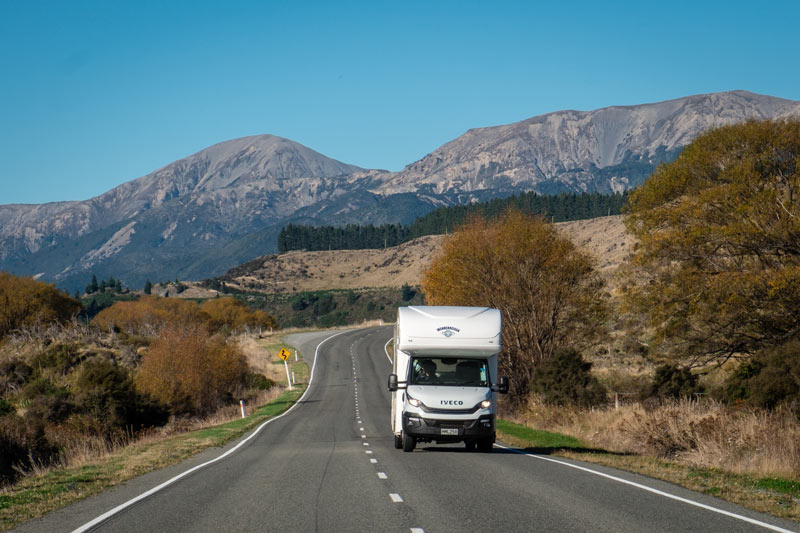
- It was so easy to drive. I have never driven anything this big, but after 30 mins or so, you start to get an idea of where the camper fits in the lane and you are good to go. We didn’t have to leave the driving to Dad, I (Mum) drove the majority of this trip and I loved it. Just take big wide corners and you’ll be totally fine.
- The fridge was an amazing size which kept everything we needed (we did one supermarket stock up on the way) and the freezer actually worked. Unlike those motel fridges that half freeze your items, this freezer was great and would totally fit a full 2L tub of ice cream.


Choosing a road trip itinerary
The hardest part about planning a camper trip is choosing where to go. We have a great North Island itinerary and South Island Road Trip Itinerary on our website that might be useful in narrowing down your options.
The other thing to think about is where you will stay along the way. Some things you might like to think about when planning
- Ideally, you will want to plan on hooking up to power at least every 3-4 days
- Think about how far you want to drive each day and remember it will take a little longer in a camper (90km/h speed limit)
- You will need to book campsites ahead of time during Dec-Feb (peak season) as well as public holidays and sometimes school holidays.
- Some freedom camping spots only have a few spaces, so plan to secure your spot earlier in the day, or have a backup option if its not available.
- Don’t forget you will need to offload your camper waste, so do that at an official campsite, or find dump spots along the way
- Do your research on Freedom camping in New Zealand. We have some tips for you below
If you’re still narrowing down where you want to go, we have some destination guides that might be helpful. Check these out
North Island
- Things to do in Northland with Kids
- The Best Things to do in Rotorua
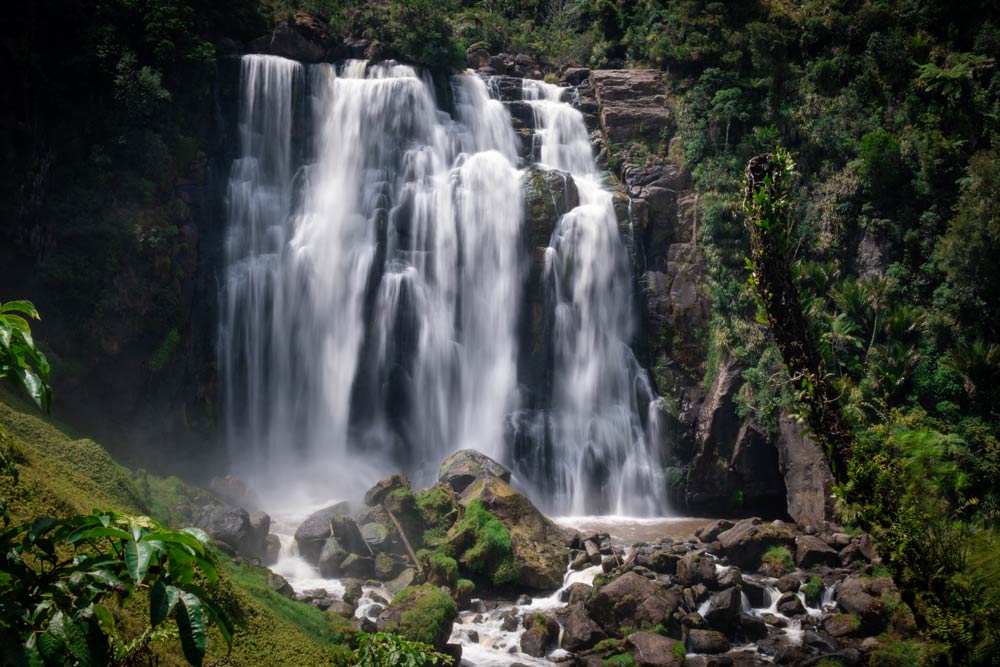
- Things to do in Waitomo besides Waitomo Caves (like Marokopa Falls pictured below)
- Free Things to do in Wellington with kids
South Island
- Great things to do in Picton while waiting for the ferry
- Things to do in Hanmer Springs with Kids
- Incredible things to do on the West Coast
- Free things to do in Christchurch with kids
- What to do in Mid Canterbury
- The Best Things to do in Tekapo with Kids
- Mt Cook Walks and Activities
- 50 Fun things to do in Queenstown with Kids
- Things to do in Wanaka
- The best things to do in Te Anau and Milford Sound
- Catlins Itinerary